Quality · 7 min
How to Review a Thermoformed Packaging Sample
A sample review should prove more than appearance. Use a repeatable checklist to approve fit, line handling and distribution performance.
TRAYVORA Packaging Team · Updated July 2026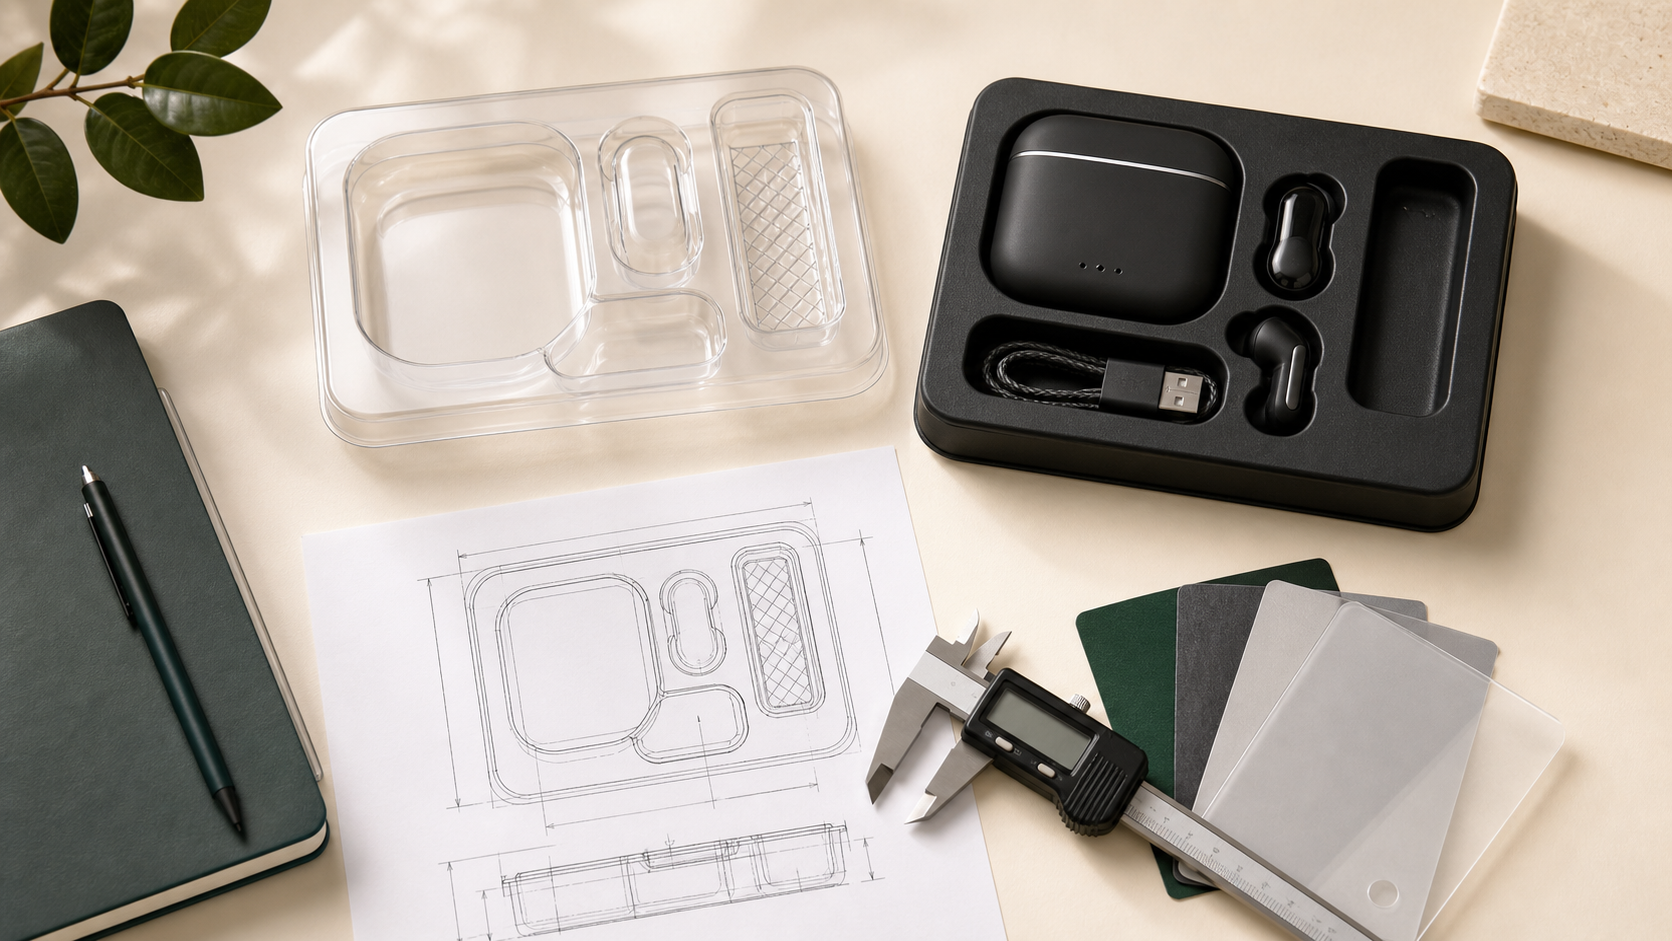
01
Confirm what the sample can prove
A visual model, prototype-tool sample and production-tool sample do not provide the same evidence. Ask which material, process and trim created the sample and which characteristics may change in production.
Record the product, carton and drawing revisions used. Approval against an obsolete product makes a precise fit check meaningless.
02
Check fit across real product variation
Load several representative products, not one ideal piece. Inspect support, movement, deformation and no-contact areas. Measure insertion and removal qualitatively or quantitatively where line speed or customer access matters.
Make sure buttons, ports, decorated surfaces and fragile projections are not stressed. Test the intended orientation and any accidental upside-down loading.
03
Inspect material distribution and trim
Look for thin corners, whitening, webbing, uneven walls and distortion in deep areas. Compare the incoming material specification with finished-part performance rather than judging gauge by touch.
Check flange width, flatness, edge quality, trim position and dimensional consistency. These features control sealing, carton fit and safe handling.
04
Review appearance under realistic conditions
Evaluate clarity, color, gloss, marks and distortion with the actual product and retail lighting. Decide which zones are customer-visible and agree on acceptable cosmetic limits.
Inspect for particles, residue and damage caused by nesting or transport. Use photographs and an approved reference sample, but support them with written criteria.
05
Test nesting and the packing sequence
Separate a stack of trays as operators will on the line. Check locking, static cling, deformation and orientation. Load accessories, instructions and lids in the real sequence and place the tray in its carton.
Confirm carton closure, barcode visibility, overall level and units per shipping case. A good standalone tray can still fail the full assembly.
06
Evaluate the complete distribution pack
Select drop, vibration, compression, temperature or other evaluation based on the route and product risk. Inspect movement, rub marks, cracks and displaced accessories afterward.
Approval should record material, drawing revision, critical dimensions, cosmetic criteria, packed configuration and signed sample. Any later change to product, sheet, tool, carton or route should trigger an appropriate review.
COMMON QUESTIONS
Practical answers.
How many products should be used for fit approval?+
Use enough representative parts to cover known manufacturing variation, including maximum and minimum conditions when they matter.
Is a 3D-printed tray enough for approval?+
It can validate layout and access, but usually does not reproduce formed wall distribution, clarity, trim or release. Confirm its intended purpose.
What is a golden sample?+
It is an approved reference part used to align appearance and fit, supported by the controlled drawing and written acceptance criteria.
When should a sample be reapproved?+
After relevant changes to product geometry or finish, material, tool, carton, packing method, quality criteria or distribution route.